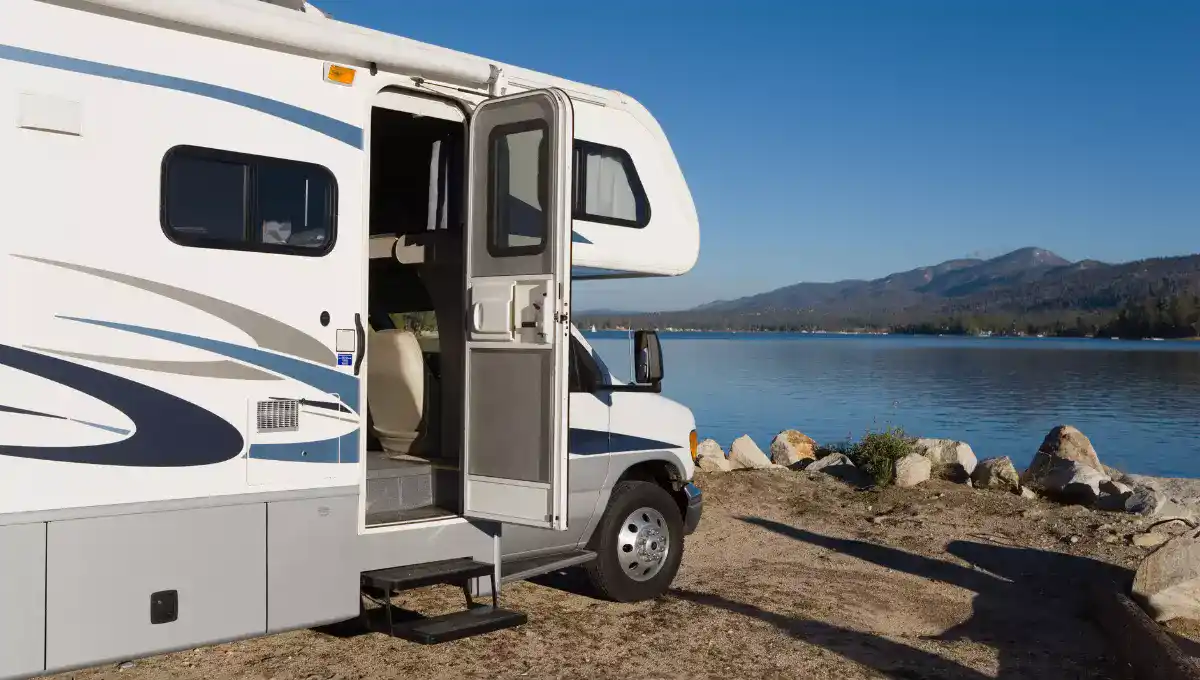
What Is An RV De-Winterizing? The process of de-winterizing is much like the reverse of winterizing. The weather changes and the cold weather is behind as this is a signal that it’s the perfect time to start the process of de-winterizing your RV.
For a successful de-winterizing, prior experience in winterizing is very helpful. You can do it yourself or ask a professional to guide you through the process.
You must de-winterize your RV if you winterize it. When bringing your RV out of its winter sleep, in the spring or summer, you must first de-winterize it. It details the procedures followed by RVers to check batteries, reconnect everything that has been unplugged and drain antifreeze from plumbing systems.
- When is the correct time to Dewinterize it?
- How To Dewinterize the exteriors?
- Checking up on the RV battery
- Reinstall the battery
- The method of charging the RV battery
- RV Tires inspection
- Interior de-winterizing
- Plumbing system de-winterize
- FAQs About How to De-winterize Your RV
- Conclusion
- Tell Us In The Comments Your Suggestions About How To Dewinterize Your RV
 When is the correct time to Dewinterize it?

The process and time are a matter of how the weather is and when you can start. The best time one can choose is when the temperature goes above freezing. You can surely keep your RV warm even if any kind of cold snaps again. Keeping the RV warm until the cold goes away is a good option but make sure to keep the holding tanks empty.
How To Dewinterize the exteriors?
The exteriors are as important as the interiors and keeping them clean and fresh is the ultimate goal here. After the freezing weather ends, the outer surface needs a deep clean session as well to scrub off the excess layers of dust.
- The exteriors should be washed and waxed thoroughly as the first step of de-winterizing your RV.
- You must thoroughly check your RV to look for any holes, cracks, or cuts on the roof or other places. These are necessary to be sealed using a prescribed sealant after the rig has dried up.
- Roof aging is a thing and it can be treated with a prescribed roof treatment or getting it done by a professional.
- Birds or wasps can make nests or small insects can lodge themselves near the vent caps, AC shrouds, stink pipe vents, or covers. This can damage your RV in the long run as it causes bacteria buildup.
- The solar panels must be cleaned thoroughly so that they can perform sustainably.
- Check the seams all over your RV to make sure everything is fine.
- Open the doors and windows to check if they work fine or not. Dirt can accumulate in the corners so cleaning them will keep RV in good condition.
- Apply a UV protector on the gasket after washing it with water and soap.
- If you have awning material, check to see if it’s working okay and lubricate if needed. The deployment and retractable feature should be smoother after cleaning.
- Check under rigs and plumbing systems to see if there is any damage or leaks.
- Gas lines should be inspected too for any cracks or leaks.
Also Read: How To Winterize Your RV?
Checking up on the RV battery
The batteries need to be charged if it was not previously done in the winter. They can corrode near the terminals, so checking that is the first step. Clean up the corrosion near the terminals with hot water and baking soda. This mixture works wonders for cleaning stubborn dirt and corrosion material.
- One must check the batteries for any cracks or leaks and replace them if any of it is found.
- It can take a few or more hours to charge as it loses 10% of the charge only by sitting in storage each month.
- Battery size is a major aspect of how long it will take to charge.
- Previous winterizing is also responsible for a good battery or bad battery condition.
- Handling and management should be done regularly to ensure it stays charged for longer.
Also Read: 10 Common Misconceptions About RV Inventors
Reinstall the battery
Many people choose to store away the batteries for winter and they later reinstall them. This can help it stay safe from corrosion and save up the charge.
- Before installing the batteries, using a mixture of baking soda and hot water and spraying it on the terminals will help keep the batteries safe from corrosion. One can also use the ¹99 anti-corrosive product for keeping batteries corrosion-free.
- First, attach the red cable(positive) and then attach the black cable ( negative). Tighten them both to adjust the batteries in place.
- Check again to see if positive and negative cables are attached and tightened.
The method of charging the RV battery
A motorized RV has separate batteries for both the chassis and housing parts. It is crucial to attach and connect it properly and double-check it to stay on the safer side. It can be a challenge to get it working every time, so you can avail services of an RV maintenance facility that can fix this.
Checking fluid levels before charging is necessary because if the level is below the plates, they must be refilled.
Chassis battery charge:
- The battery should be “OFF” when connecting to the RV charger.
- The red cable is to be connected to the red indicator.
- The black cable is connected to the black indicator.
- Set the voltage at 12 volts and charge the power.
House battery charge:
- To charge batteries, plug the RV into a 110-volt receptacle.
- To charge it fully, leave the charging for overnight as it ensures a good charge for operating 12V items in your RV
RV Tires inspection
For a peaceful journey and no flat tires, it is essential to inflate the tires with correct air pressure so that the rig and tow vehicle or trailer are safe on the road.
Accelerated tread wear, blowouts, and uneven handling are some of the inconveniences caused by incorrect air pressure.
Tires can lose 2 to 3 psi each month when they are stored for future use.
- Check the sides and treads for any cracks or cuts which can cause deflation later.
- Checking each tire as well as the spare one is important.
- Measure the pressure of cold tires with an air pressure/inflation gauge.
- Inflate the tires if it’s less according to the manufacturer guidelines.
- Rightly tighten the lug nuts as per the manufacturer’s manual.
Interior de-winterizing
Information regarding interior de-winterizing is very necessary so that your RV can become ready for the next camping trip after winter ends.
- Inspect the RV thoroughly to see traces of any mice, squirrels, spiders or insects, or any mouse traps.
- Vacuum the carpets and clean the cabinets, and surfaces with a cleaning agent.
- Replace any leftover towels or soaps and linens.
- Airing out the RV is also required so that the stuffed air can circulate and fresh air enters your RV. Open all the doors and windows to check if they are working fine.
- Keenly check the ceiling for any leaks slight discoloration or damage.
- Open all the cabinets and refrigerator doors to inspect the condition. If anything smells odd or funny, it could be moldy and might need extra deep cleaning.
- Vacuum and air filters are to be changed.
- Window screens can be vacuumed or rinsed to clean them properly.
Plumbing system de-winterize
- Remove the excess antifreeze that was inside during winter.
- Sanitize the RV plumbing system.
- Start any refills that might be needed.
- Draining the RV antifreeze
The antifreeze that was inserted during RV winterizing should be removed fully and correctly to have safer trips and no damage to the insides.
- Close all of the faucets in your RV.
- The water lines are to be reconnected that were disconnected before when the water was static to Bypass mode.
- A water hose should be attached to the water inlet. Turn on the water as needed and check if any leaks are found.
- Drain every faucet in your RV starting from the farther one. Drain every sink or shower or any pipes that are used. The pink water will drain out in some time, which is the antifreeze. Close it when you notice that the water is running clear with no signs of pinkish water.
- Turn off the water supply after every faucet has clear water running.
- Disconnect the inlet hose.
- Filling up and flushing every faucet again will clear up all the antifreeze in the plumbing system.
FAQs About How to De-winterize Your RV
A lot of questions come to our mind while doing de- winterizing an RV, some of the commonly asked questions are answered below.
Q. How long does it take to Dewinterize an RV?
A. Start charging your power. Depending on how big your batteries are, this process could take a few hours or perhaps a few days. To be safe, allow an overnight charge if your RV has more than four batteries.
Q. Can I dump RV antifreeze in the freshwater tank?
A. It is also perfectly okay to pour the antifreeze directly into the fresh tank and use the RV’s water pump to circulate it throughout the system.
Q. Can you drain RV antifreeze on the ground?
A. RV antifreeze left on the ground can pollute well water, endanger people and animals, and harm crops receiving groundwater, endangering drinking water.
Conclusion
These steps are to be followed each year to maintain your RV in good condition and keep your trips safe and comfortable for the long term.
RV maintenance is a big part of camping as a happy trip depends on the condition of your RV which will take you to new locations and adventures.
Tell Us In The Comments Your Suggestions About How To Dewinterize Your RV
Also, don’t forget to book your personalized holiday package with Fiery Trippers. Let us make your vacation a romantic as well as a dreamy getaway.
Unleash the Savings: 🤑 Expert Tips for Cutting Costs on RV Insurance
🤔 How To Choose The Right RV Insurance Company? Your Ultimate Guide


